This article covers integrating Graphly’s Web Tracker with Leadboxes.
Setup for the Web Tracker Inside Leadboxes
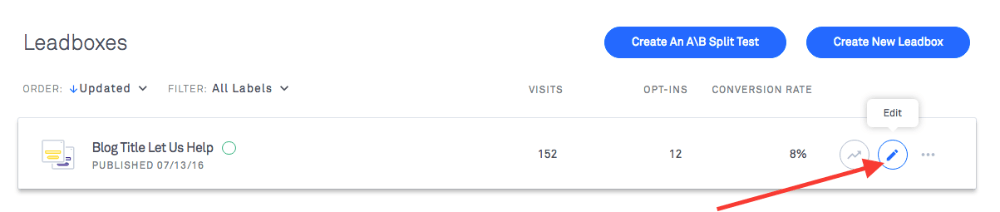
First, get logged into your Leadpages account and navigate to Leadboxes.

Click on the pencil to edit your leadbox.
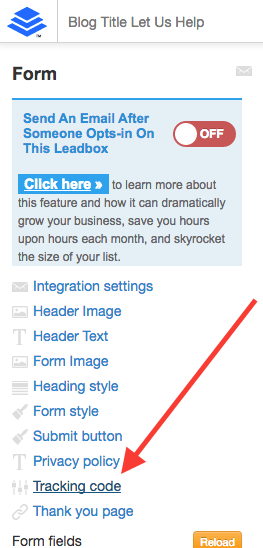
From here, click on the “Tracking code” menu item on the side bar.
Paste the Graphly tracking script in the Extra head box and click “Okay“. If you’re not sure where you can find the tracking script, click here to go through the steps to set up Web Tracker on the Graphly side.
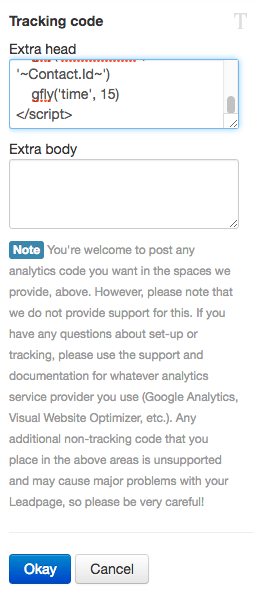
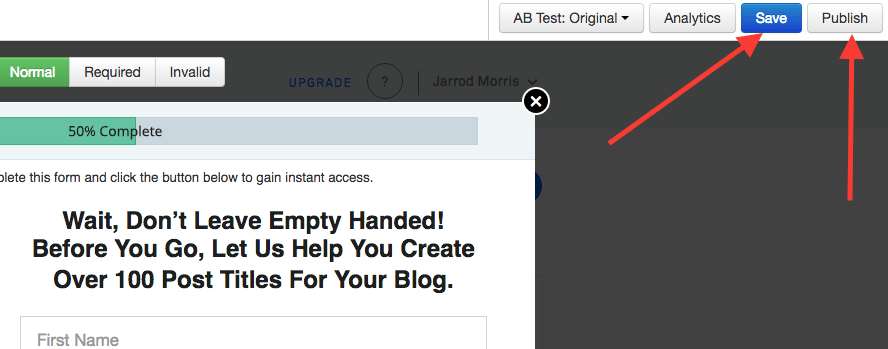
Click “Save” and then “Publish“.
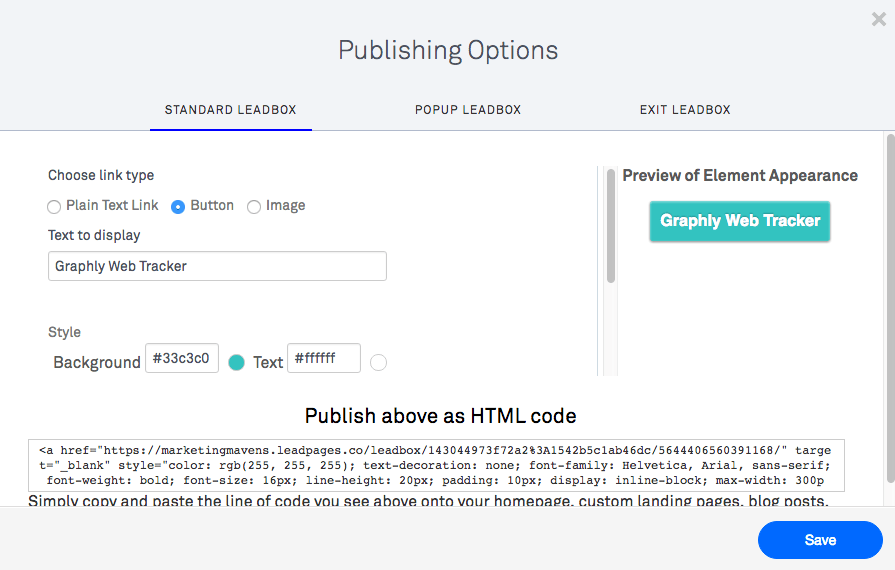
Regardless of whether you use the Standard Leadbox, the Popup Leadbox, or the Exit Leadbox; make sure that wherever you are pasting the leadbox code also has the Graphly tracking script as well.
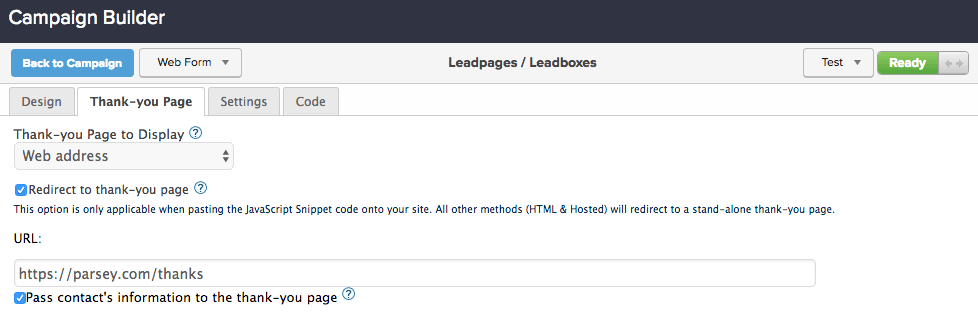
Since Leadpages adds contacts to Infusionsoft via a specific webform, make sure you are passing the contact’s information to the thank-you page on the settings of that webform.