Graphly’s Web Tracker is a great tool that can help you better understand the performance of your website. In this short article we will go over how you can add the Web Tracker to Optimonk.
Configuring Optimonk
First, you’ll need to log into Optimonk and view your campaigns.
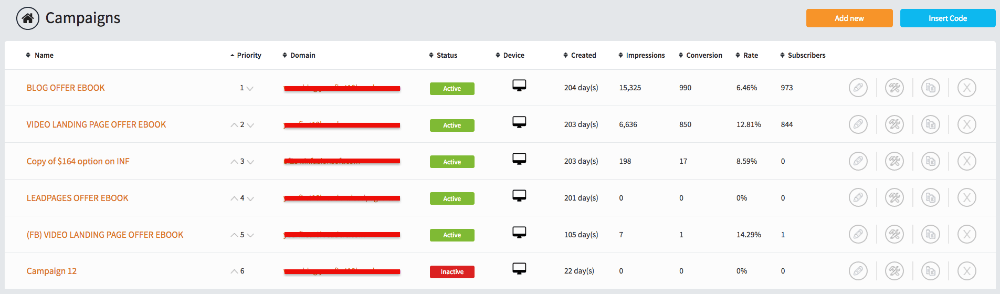
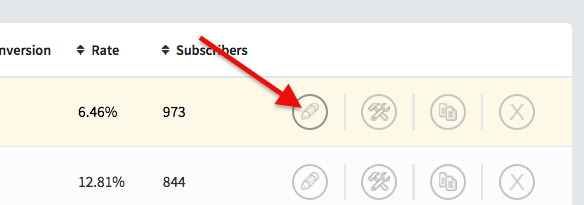
Click the “Edit icon” next to the Campaign that you would like to add your Graphly tracking script to.
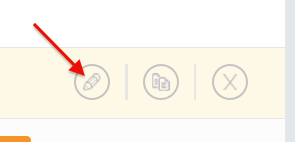
Then you will be on the Variant page for that campaign. Click the “edit” button next to the variant you want to add the script to.

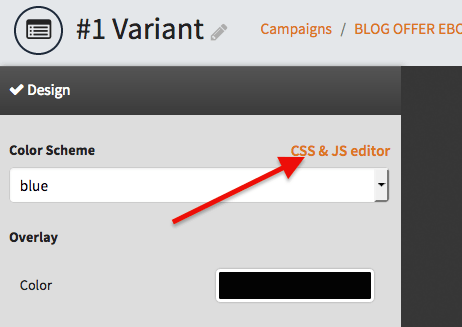
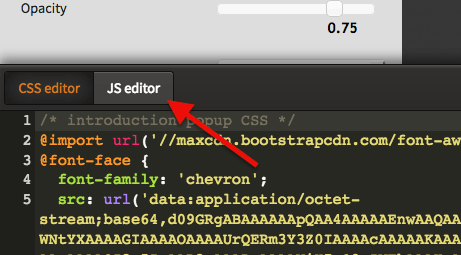
Now click the “CSS & JS editor” link.
Here you should be able to find and click “JS editor“.
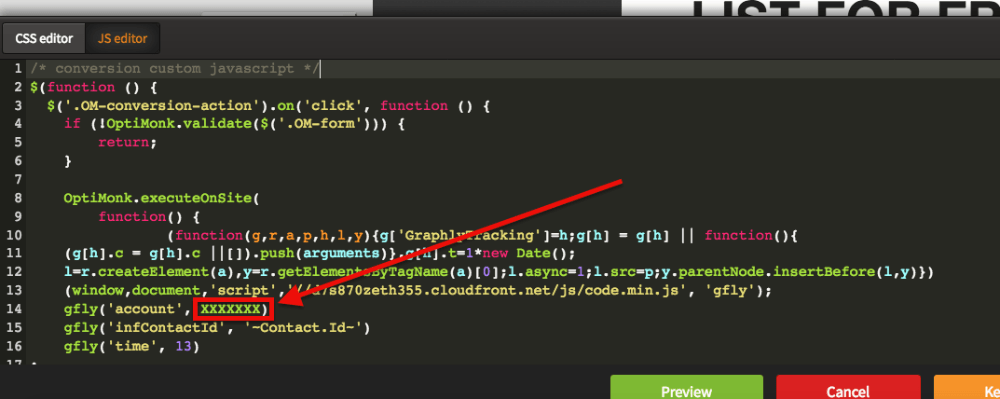
Copy the below tracking script and paste it into both the “/* conversion custom javascript */” and the “/*thankYou custom javascript*/” areas.
$(function () {
  $('.OM-conversion-action').on('click', function () {
    if (!OptiMonk.validate($('.OM-form'))) {
        return;
    }

    OptiMonk.executeOnSite(
        function() {
                (function(g,r,a,p,h,l,y){g['GraphlyTracking']=h;g[h] = g[h] || function(){
    (g[h].c = g[h].c ||[]).push(arguments)},g[h].t=1*new Date();
    l=r.createElement(a),y=r.getElementsByTagName(a)[0];l.async=1;l.src=p;y.parentNode.insertBefore(l,y)})
    (window,document,'script','//d7s870zeth355.cloudfront.net/js/code.min.js', 'gfly');
    gfly('account', XXXXXXX)
    gfly('infContactId', '~Contact.Id~')
    gfly('time', 13)
;
        },

        function() {}
    );
  });
});
Now replace the 7 “X’s” in the “account” section of both tracking scripts with the account code in your own tracking script.
Then click the “Keep Changes & Close” Button.

Finally, click “Save“.

The tracking code should now be in the source code of the Optimonk Overlay.
One last thing… the graphly webtracker will only work if the optimonk form passes the contact’s email address to the thankyou page.
To do this, simply set the optimonk custom thank-you page URL to: http://example.com/thank-you/?fname=[[FNAME]]&lname=[[LNAME]]&email=[[EMAIL]]
Once you’re done, go ahead and try out some of our reports! If you like them, help us out by giving us a five-star review on the Infusionsoft store!