This article covers integrating Graphly’s Web Tracker with Weebly. If you haven’t already watched the video or read the article on using the Web Tracker with Infusionsoft Web Forms, click here.
Set Up for Graphly’s Web Tracker in Weebly
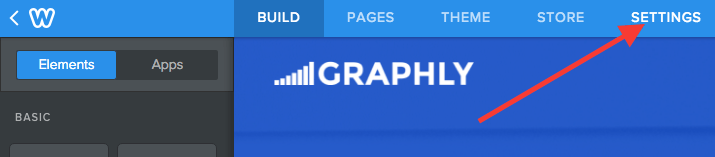
Once you have logged into your Weebly account, click on the “Settings” tab at the top.
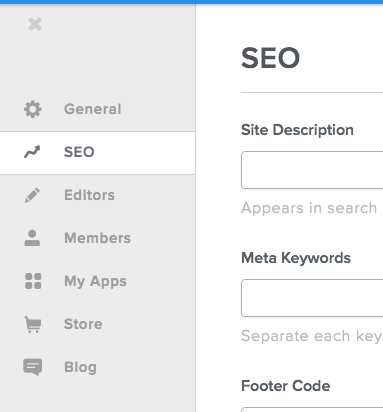
Then click on the “SEO” tab on the sidebar.
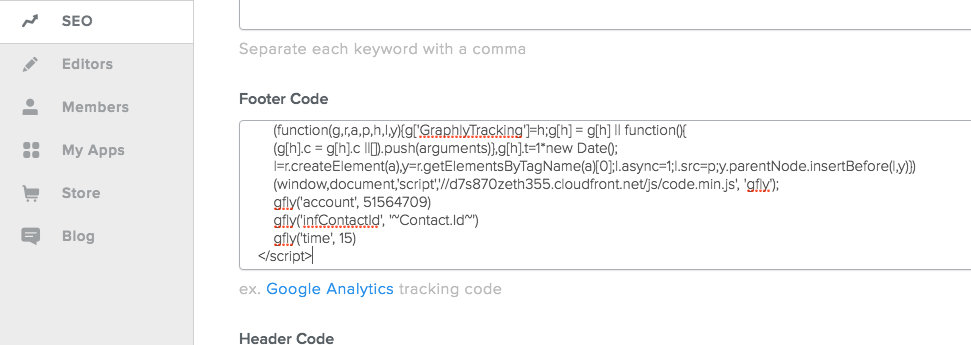
Scroll down to the Footer Code box and paste the Graphly tracking script into it.
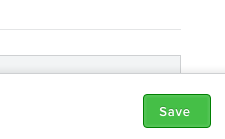
Click on the “Save” button at the bottom.
Now click back to the “Build” tab at the top.

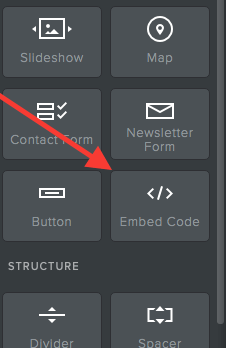
From here you’ll need to add a form to the home page. Weebly already has a Contact Form element, but it does not post the email parameter to the thank-you page. This means that Graphly won’t be able to set the lead source or address information. Instead, drag the Embed Code element over to the page.
Click on the box and paste the web form code from Infusionsoft into it.

Click out of the box and then hit the “Publish” button in the top-right.