The Subscription Lifetime Value template shows the Lifetime Value of your customers for your selected subscriptions.
Search for the Subscription Lifetime Value Template
To begin, click the “+” icon on your Dashboard and type “Lifetime” into the search bar. Then select the “Subscription Lifetime Value” template.
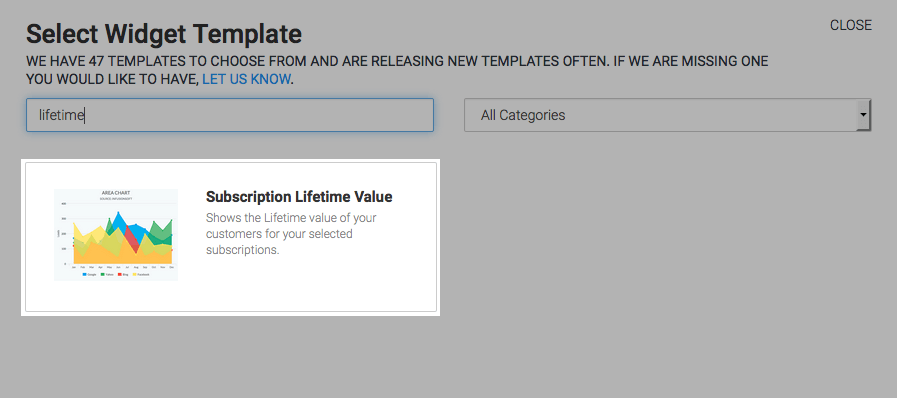
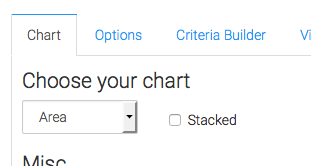
Chart Tab
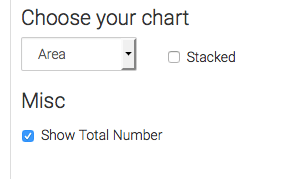
This report defaults to the Area chart type, I’ll leave it there. Because we are tracking just a single data point, stacking has no bearing on this report.
Check the Show Total Number box if you want to display the total on the top right-hand corner of the graph.
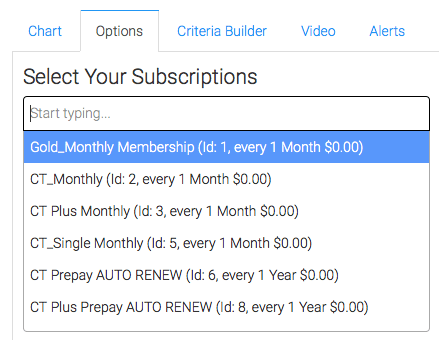
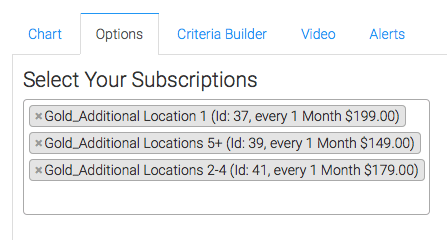
Options Tab
Now go to the Options tab. First, select your Subscriptions. Choosing more than one subscription plan joins the data into a single column, bar, or line. If you want to compare the lifetime value for one subscription to the lifetime value of another subscription, you’d use two separate widgets to do so.
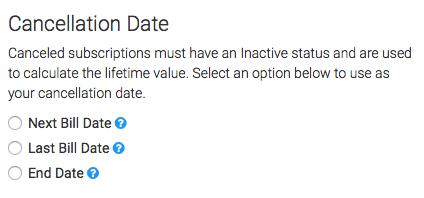
Next, define your cancellation date. You might be wondering why we are asking about a cancellation date when you’re wanting to project future revenue from active customers . The short answer is, that it helps us figure out attrition which is very valuable when used in calculating lifetime value.. You’re simply helping us choose the best date for your business to define Active, versus Inactive.
Our first Option is Next Bill Date. This will be the most common selection for cancellation date. As a simple example: If the client is being billed on October 1st, they are essentially paid through the end of the month. And we would make their cancellation date November 1st if we chose the next bill date as our option.
The second option is Last Bill Date. This is going to be used a lot less frequently. But if you bill after a service is provided, at the tail end of that service, you would use Last Bill Date.
e third and final option is End Date. This is a great option because the End Date is not set automatically inside Keap, but rather you as a user have the ability to adjust and edit this field so that you can set a very specific day as the Cancellation Date. If you choose this option you HAVE to ensure that this field is always being set.
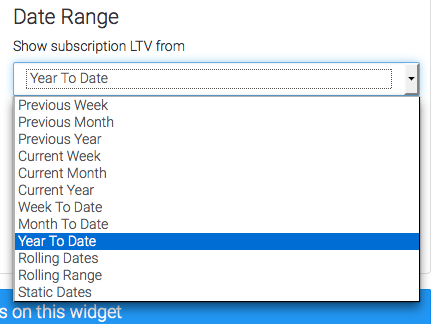
Next, set your Date Range. I’ll choose Year to Date, and group it by Months as the interval.

Criteria Builder Tab
For ultimate control and customization, use the Criteria Builder“to include additional rules and requirements to the report.
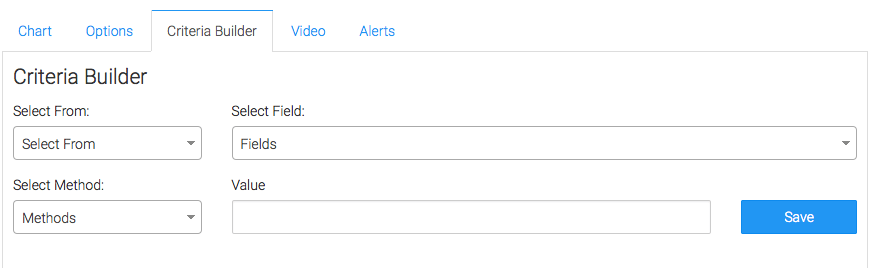
Once you have your everything set, click Save Preferences on This Widget.
Relevant Articles
- How to Configure the Subscription Stick Rate Report
- How to Configure the Subscription Tenure Report
- How to Set Up the Subscription Cancellations Report
Try Graphly for Just $1!
Unlock the full potential of your data with Graphly! Sign up for our 14-day trial for only $1 and gain access to a wide range of powerful reports designed to help you make data-driven decisions. Here are some of the reports you can explore:
- Opportunity Leaderboard: Track and analyze your team’s performance.
- Gross Revenue: See the money coming into your Keap account over time.
- Opportunity Forecast: Forecast the adjusted revenue of active opportunities based on the stage probability.
- Units Sold: See the number of units sold for each product you select over a given date range.
- Campaign Email Stats: Measure the impact and conversion of your marketing campaigns.
- Tags Applied: See how many tags get applied to contacts during a period of time.
Don’t miss out on this limited-time offer! Start Your 14-Day $1 Trial Now.